
Swift is a new open-source programming language Apple released in WWDC 2014, which can running on Mac OS and iOS platforms together with Objective-C *, to build applications based on Apple’s platform.

To run and use Swift Programming on Windows is almost impossible in the past, but recently, this thing seems to be a turning point. Thanks Microsoft introduced a new Linux subsystem in Windows 10 build 14316 in the recent, the Windows users can directly run and use Apple’s swift on Windows right now. A warmhearted Reddit user vista980622 also shared the detailed steps of how to let Swift works on any Windows 10 PC. If you would like to try, just follow the steps below.
Step#1 Go to Settings -> Update and Security -> Advanced -> Get Insider Builds.
Step#2 Turn on “Fast Ring” on any Windows 10 PC and reboot to update.
Step#3 Turn on “Developer mode” in “For Developers” on the “Update & Security” page.
Step#4 Now go to Control Panel -> Program and Features -> Turn Windows Features on or off -> Windows SubSystem for Linux (Beta), and click OK.
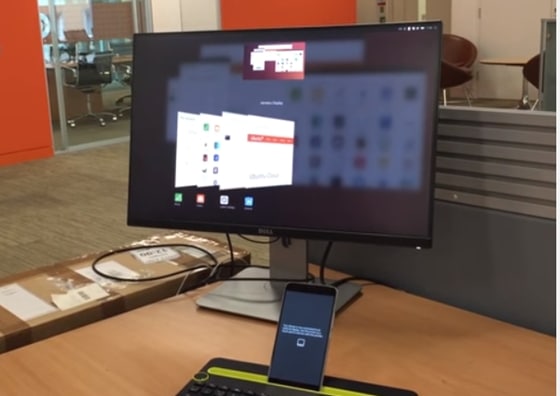
Step#5 After a reboot, open Command Line and type in “bash”. Then Windows will prompt to download Ubuntu image from the Windows Store, and once that’s done, just install Swift as how you install it in Ubuntu.
When unarchiving the tar.gz file, symbolic links will fail to create. Note down the few failures in bash, then go to Explorer, go to
C:\Users[Username]\AppData\Local\lxss\root, manually duplicate the relevant files + renaming them in Explorer. [Alternatively, you can cp them in bash as well].
After the setup, just go with ./swift [sourcefile].swift to compile and run it. Swift interactive shell does not yet work, but compilation of source file does work 🙂
This is still quite rough and experimental, but have fun 🙂
If all goes well, you should be able to get the Swift compiler up and running on your Windows PC.


plz tell me the link for downloading swift