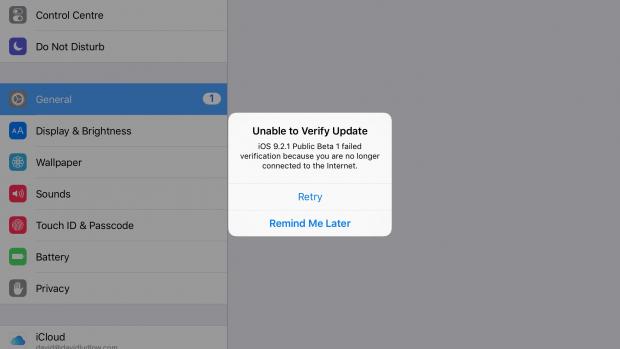
If you’re trying to update your iPhone or iPad to the iOS 9.2.1, iOS 9.3 or later, and the device stuck at an error ‘Unable to verify update’, and iOS will tell you the device no longer connected to the internet, so how to fix this annoying damn issues?
By convention, the first important thing to do is check that your device actually is still connected to the internet Ignore the Wi-Fi symbol, but open up Safari and try and load a web page. If that works, you are connected to the internet. However, make sure you’re on a regular home network, as some companies and hotspots may filter out traffic that makes the update possible.
If the above checks are invalid, then you have to take some extraordinary measures.
1. Shut down the Settings app
The first thing to try is shutting down the Settings app. Double tap the home button then swipe up on the Settings app until it slides out of view. Now, tap Settings from the home screen and go to General, Software Update. Try and install the update again.
2. Refresh your iPhone or iPad
If that doesn’t fix the problem, you can use our refresh your iPhone or iPad guide. This refreshes your device’s memory and solves loads of problems.
3. Reset your Network Settings
Sometimes a network issue can cause the problem, but you can reset these settings easily. Be warned, doing this will require you to enter all of you Wi-Fi passwords again. Go to Settings, Reset, Reset Network Settings and then tap Reset in the dialog box. When your device has completed the reset, rejoin your Wi-Fi network and try the update again.
4. Delete the update
Sometimes a corrupt update can cause a problem, but you can remove and retry. Go to Settings, General, Storage & iCloud Usage. Tap Manage Storage and wait for the list to be populated. Scroll through it until you see Software Update, select this entry and tap Delete Update. You can now try and install the update again.
Delete iOS Update
In my experience, the above four steps will fix any problems with regular Apple updates and will let you upgrade your device to the latest version of iOS.
Beta updates
If you want to try out the latest releases before anyone else, you have to sign up for the Apple Public Beta service on each device you want to use. This will get you the latest version of iOS before other people, but there will still be bugs, so it’s not for everyone. Using beta software introduces a new element of complexity to the update process. You can try all of the Regular update fixes above, but in some situations, this won’t fix the problem. I found that if my device wasn’t updated to the latest official release of iOS that I had problems with getting the latest beta release. Here’s how you fix them.
1. Delete the current beta update
Go to Settings, General, Storage & iCloud Usage and tap Manage Storage. Wait for the list to be populated, then scroll down, tap Software Update and tape Delete update.
2. Delete the beta profile
Go to Settings, General, Profile option (you only get the Profile menu if you’ve got multiple profiles installed, such as joining the beta program). Tap the Beta Software Profile option and tap Delete Profile, then tap Delete to remove it. At this point, I’d reboot your iPad or iPhone.
3. Update your device
Go to Settings, General, Software Update and check for a new official update. Download and install this as you would any other update. Once complete, rejoin the beta program following the link above, reinstall the beta profile and then you can re-run Software Update and get the latest beta version of iOS.


