Apple ID as important credential used in multiple features on Apple’s products, in general, we will select the region we currently living as the default country/region in Apple ID Settings. But for some reasons, we may need to switch the Apple ID region to another country, such as you might stumble on an app which is available for only some countries, or you are a developer or blogger, and want the content based on a specific country, and even you moved to a different country for work or any other purpose.
However, for whatever reason, if you decide to do that, you can change the country for Apple ID according to the following step by step tutorial
If you have a credit card belongs to the country you want to switch to, then you can add or change credit card detail for Apple ID to further change region. Course adding Payment information is temporary, and you can remove Credit Card Detail from Apple Account after changing the country.
How to Change Apple ID Region If you have Credit Card:
- Just launch iTunes Store or App Store on your iPhone
- Click on your Apple ID at the bottom, and hit View Apple ID, and then Enter Password to manage
- Now Tap on Country/Region
- Select Change Country or Region
- Select the country from drop down list, and click Change
- Now you may get a page where you need to click on continue, and then accept terms and conditions
- The last step is to provide the valid payment information along with a valid billing address and mobile number. Once you are done you can save it
- Rest of the steps are same as on Mac. You need to select the Country you want to choose for your Apple ID, Enter the Payment information, billing address as in new country and save.
But if you do not have a foreign credit card, then you can create a new Apple ID to change country without payment information.
How to Create a Free Apple ID without Credit Card details
In this scenario I strongly recommend you to create Free Apple ID for US or UK which have no restrictions on iTunes apps.
You can create a new free Apple ID on Mac, PC or your iPhone quickly.
Step#1 Navigate to Apple ID creation page on your device.
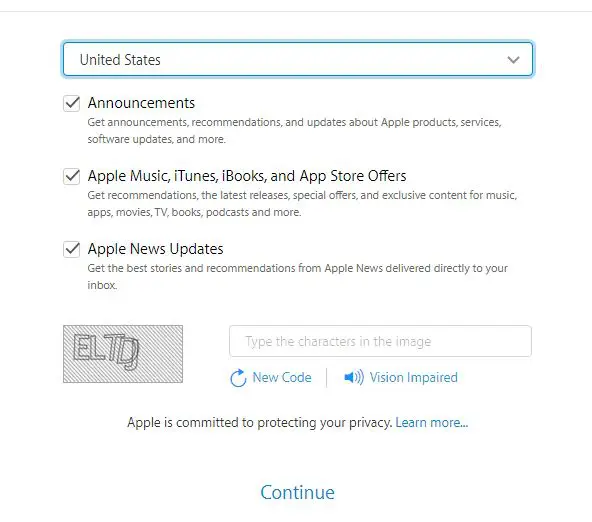
Step#2 Click ‘Create your Apple ID’ option at the top menu to start creating a new ID and filling the information there.
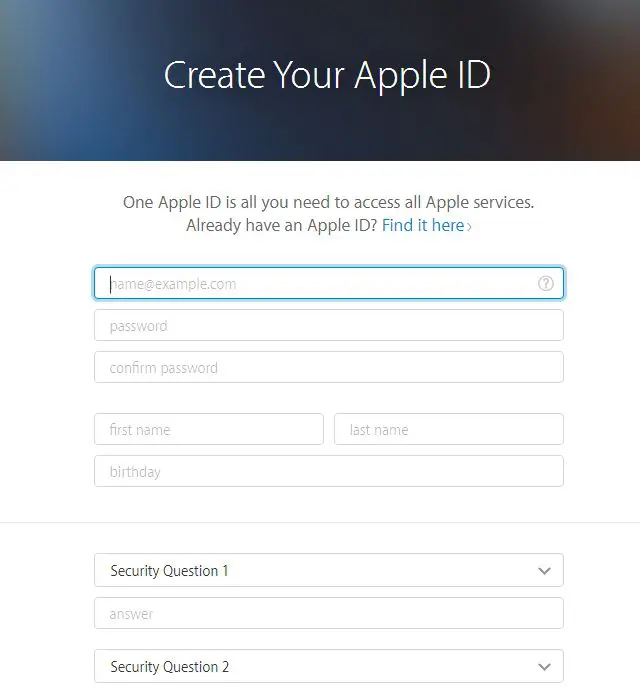
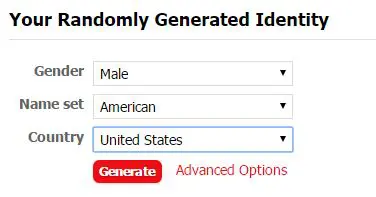
Step#3 Where we need to fill in some related personal infos to complete the registration, if you do not understand the local situation, you can get the help of Fake ID Generator to find dummy phone number, address and PO Box.
While Creating a new ID, you can choose the country of your choice without providing any Payment information. However, keep in mind that such accounts are not secure, and password retrieval, or iCloud verification may be tough or even impossible. It’s better to use such account for testing purpose only, and have a personal valid Apple ID.
You can also watch the Video Tour at the beginning of the article to create an Apple ID without a credit card.












im trying to move my apple id to another country, meaning my billing, because i dont live in us, own 500 movies in itunes, and live in Thailand, and want to add my credit card. But i cant find a way to move countries in apple id